My goal for this project was to have a small side table for my show that is extremely portable. This “lazy” table can easily fit in a briefcase, because of the dirty little secret… you only need to carry half of it!
What You Need
Find a table-top. I went to Canadian Tire and bought a couple cheap wooden stools. (on sale for $10 each) I have no use for the legs, but those little rounded tops are the perfect size.
Alternatives: If you have access to a woodshop, grab a piece of wood, a jigsaw, a router, and some sandpaper and you’re set. This is not as lazy, but still simple if you have the tools and skills.
You can also keep an eye out at thrift shops and yard sales for the right table, stool or “lazy susan” to salvage. Some cutting boards are also just right for this. The important thing is that the wood is thick enough that a screw won't poke through the top.
The secret ingredient you need is a Microphone Flange (Female). This is a small piece about 2 inches across that will fasten to the underside of your table top, and fit on 99% of all microphone stands. These range in price from $5 to $15.
Sources:
- Simplicity Natural Wood Bar Stool at Canadian Tire
- Microphone Flange Female from B&H Photo
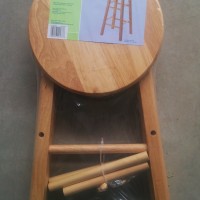
The whole stool

Female microphone flange

Just a sample of the stool
Building Step-By-Step
-
Strip your source material down to the bare table surface, removing any unnecessary pieces. In my case, the stool had a few extra attachments for legs that were screwed on.
-
Locate the center, where you’ll attach the Flange, and holding it in place mark the three holes with a punch or pencil. (make sure it doesn’t shift as you make the marks)

The stool top as it came
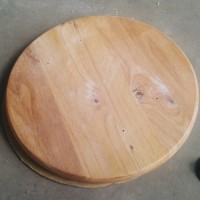
Attachments removed
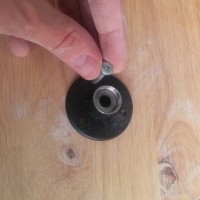
Marking spots for drilling
- Using a drill bit just a touch narrower than your screws, pre-drill the three holes at the spots you marked. Be careful not to drill through to the top side.
Note: Pre-drilling holes is as complex as this project gets. I don’t recommend trying to screw on the flange without pre-drilling, as you could potentially crack your table top.
-
Make sure your screws aren’t too long that they will poke through the top of your table. That’s probably the easiest way to mess up this project.
-
Screw the Flange in place.
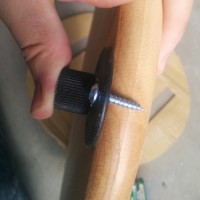
Testing screw depth
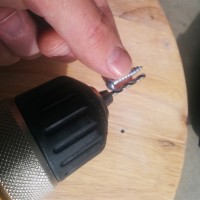
Setting drill depth
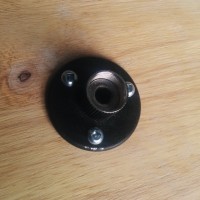
Flange attached
- Ummm... that’s it. Attach it to the nearest microphone stand and do some magic!
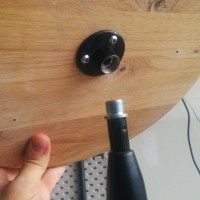
Attaching to microphone stand
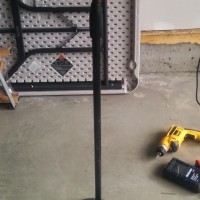
Looking good!
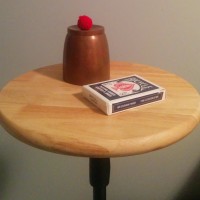
Ready for the show!
It took me longer to write up this lesson than it did to make these tables. All part of my current project of “how to pack a full theatre show in one suitcase without having to pay excess baggage fees!”
Be sure to subscribe for more practical magic tips from the road, plus ideas on how to make your performances more engaging and fun.
PDF Article
You can save and/or print this article, as it appeared in VANISH magazine.